

How To Level Dirt In Garden
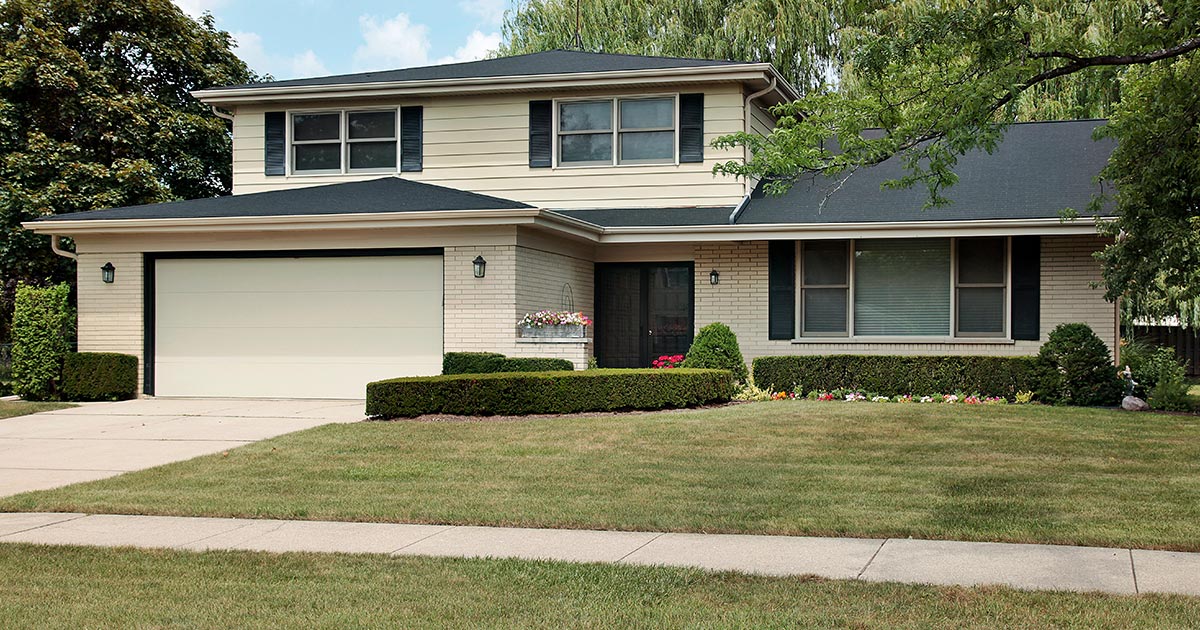
The Importance of Yard Leveling
If you are looking for information on how to level a yard you probably know it is instrumental in keeping your landscape aesthetically pleasing. A level yard provides stability to your outdoor landscape. It also allows you to avoid serious damage and costly repairs to your foundation.
Your lawn must slope away from your home gradually to allow rainwater to drain away slowly from your foundation. If rainwater runs toward your home, the water will accumulate around the foundation walls. This will cause moisture to build up. Weakening your foundation. It may even become more serious. Seeping through foundation walls and filling your basement with water.
If your home does not have a basement or is built on a slab, moisture can seep into the wooden floor joists. The water will rot the joists. Threatening your home's structural integrity.
The problems don't end there though. Poor leveling will also damage your gardens, trees, and landscaping.
As well as potential standing water issues. A breeding ground for mosquitos. Which are not only pests but carry disease.
Reasons for Yard Leveling
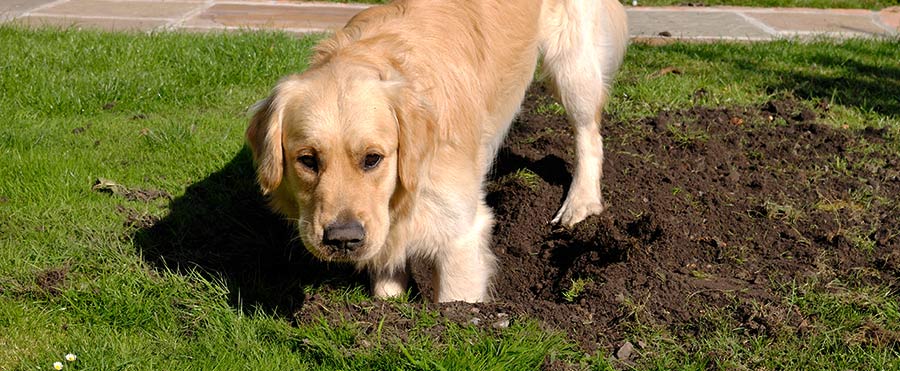
Even if you have leveled your yard in the past, landscape grading may be needed in cases where bumps and lums are created by:
- tree or brush removal
- sewer installation
- tree root growth
- damage from animals
- installation of new features (such as a pool)
- settling
- drainage issues
How Do I Know if There is a Landscape Grading Problem?
The most simple way to look if you have yard leveling problems is to look for standing water. If you don't have proper drainage, you know that you have a problem.
If you want to be more precise with your landscape grading, you can measure your yard's slope. To do this you will need the following tools:
- Hammer
- Two 3 ft. long stakes
- 100+ ft. string
- Carpenter's level
The ground around your home should slope away approximately 1/4-inch down for every foot away from your home. This comes to around 2 ft. per 100 ft. So at 100 feet from your house, the ground should be 2 ft. lower than at the base of your home.
To accurately measure the slope of your yard's landscape grading grab a 3 ft. long wood stake. Drive it 1 ft. deep in the dirt at the bottom of your house. Then measure a 100 ft distance away from your house. At that spot drive a second 3 ft. long stake into the soil.
At ground level on the stake by the house attach a string. Run the string to the second stake. Attach it to the stake with the string level. Use a carpenter's level to achieve this.
With the string attached to both stakes, measure the distance from the ground to the string on the far stake.
If you measure a drop from 3 inches to 2 feet, you may be able to do the leveling yourself. However, if the drop is greater than that, or it slopes upward, it is recommended that you hire a professional to grade the yard.
For very steep slopes you may consider planting ground covers or building terraces.
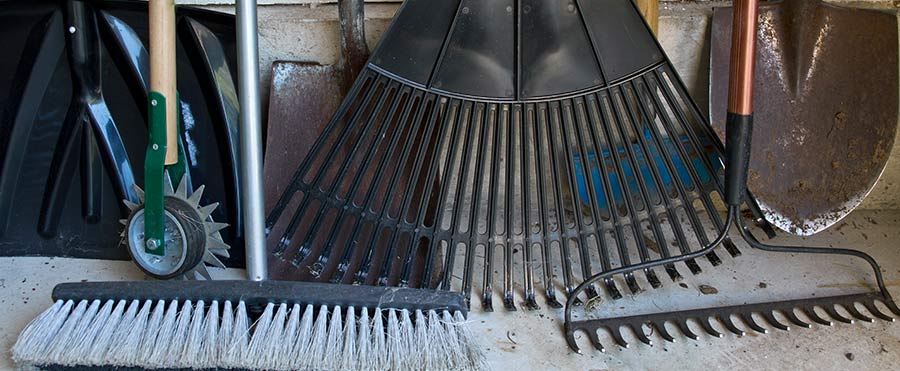
If you decide to take on the task of landscape grading yourself, you will need:
- Lawn Mower
- Sand
- Topsoil
- Compost
- Hand rake
- Thatch rake [or dethatching machine]
- Plastic leaf rake
- Large push broom
- Shovel
- Edger
- Wheelbarrow
How to Level a Yard [8 Steps]
So you're ready to take on landscape grading yourself. Use these 8 steps for how to level a yard to ensure great results.
STEP 1: Mow Your Lawn
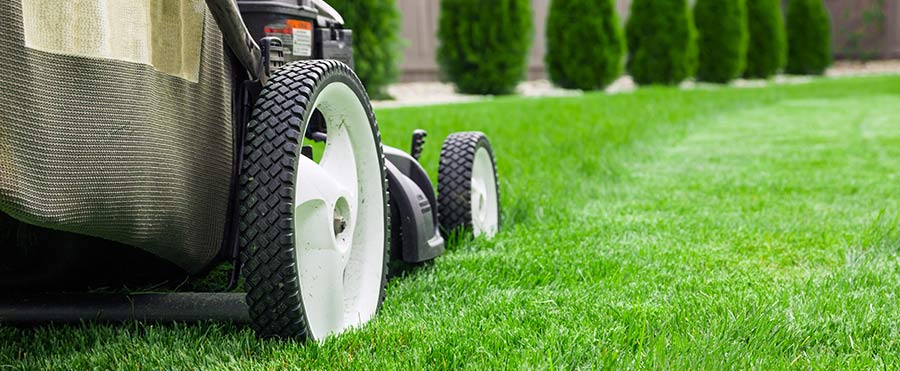
Yard leveling starts with mowing your lawn. Make sure you cut it short. But be careful not to cut it too short. If you cut to the point that the stems of the blades of grass are visible, then your grass may dry out.
STEP 2: Dethatch Your Lawn [As Needed]
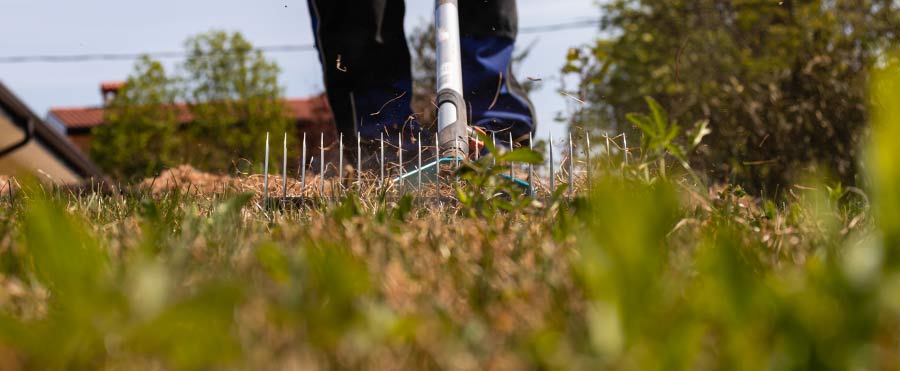
Begin preparing the lawn for landscaping grading by closely examine the roots of your grass. Assess your lawn's amount of thatch.
The thatch is a mix of living and dead plant material in a layer where the grass stems meet the soil and roots.
A thatch greater than 1/4 to 1/2 inch will keep your grass from getting proper water and air.
If you have more than 1/2-inch remove the thatch.
For a smaller lawn, you can use a thatch rake. For larger lawns use a dethatching machine. Which you can rent at most home improvement stores.
STEP 3: Dig up the grass in the sunken area of the lawn
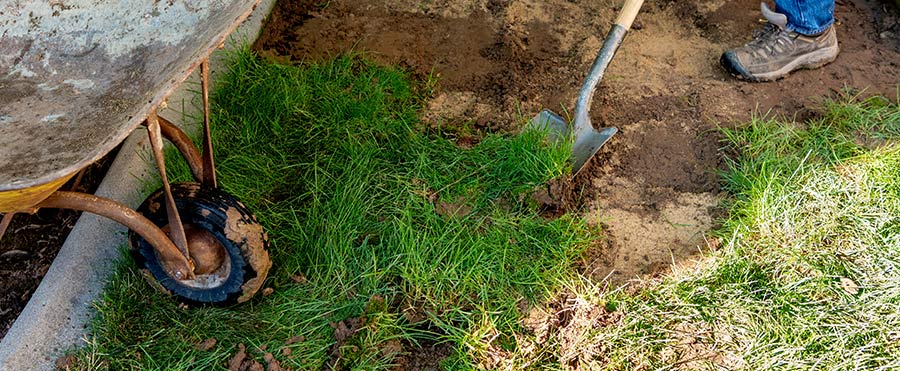
Check your yard for divots and low spots deeper than 2-3 inches.
Remove the grass from on top of them. To do this, put the blade of a shovel on the outer edge of a low spot. Slide it down and under about 2-3 inches to make sure you get under the roots of the grass. Then remove the sod by prying the grass up with the shovel. Exposing the dirt underneath.
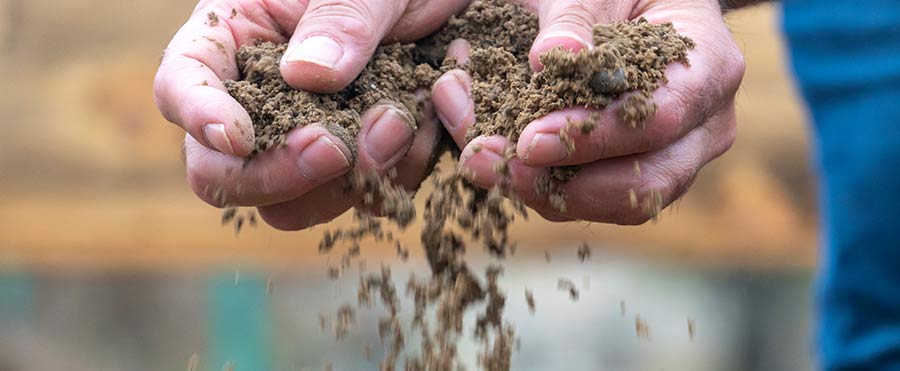
STEP 4: Make Soil Mix: Topsoil, Sand and Compost
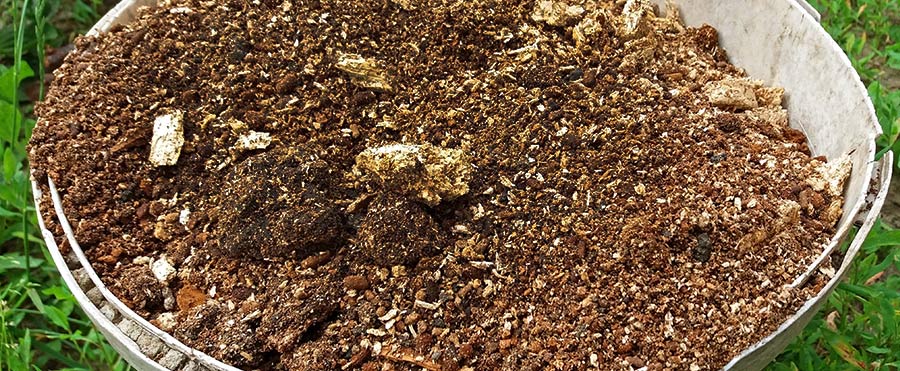
Make a top dressing mix to fill in the area beneath the grass in sunken areas of your lawn:
- 2 parts topsoil
- 2 parts sand
- 1 part compost
The soil and compost give your grass the nutrients it needs to thrive.
Sand on the other hand does not easily compact easily. Keeping your yard level over time.
STEP 5: Fill Sunken Areas and Holes with Soil Mixture
Fill the hole from step 3 with the mix from step 4. After filling the holes, be sure to place the grass back on top of it.
STEP 6: Even Out the Entire Lawn
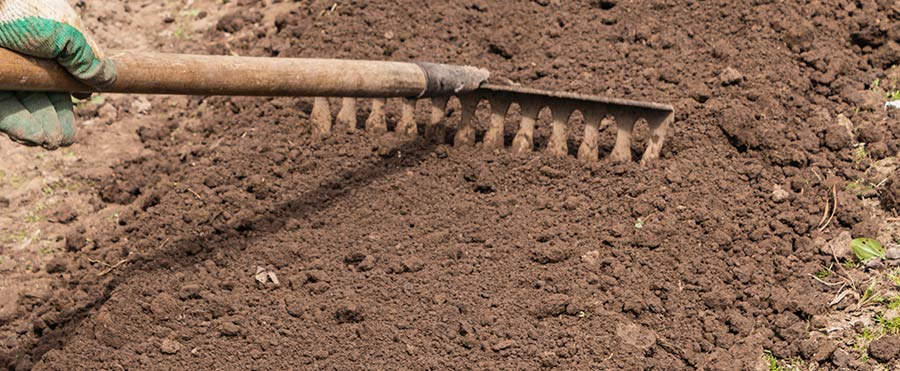
Once you have filled the holes and divots, cover your entire lawn with about 1/4 to 1/2 inches of the mix.
Keep this layer thin. Err on the side of caution. Even if you think you need more than 1/2 inch. If you put too much down, you may choke your grass.
If you still think you need more, you can reapply in step 8.
STEP 7: Water the Lawn
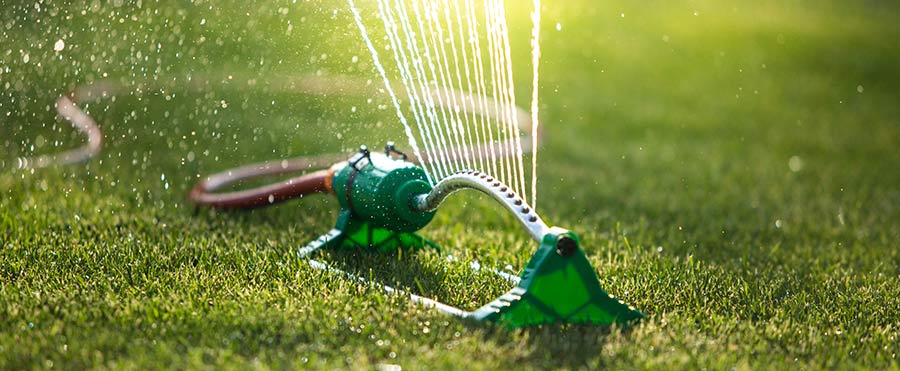
Run sprinklers to water your lawn. This will help the soil mix settle in the grass to fill air pockets, and revitalize your lawn.
Jumpstarting the introduction of the new nutrients from soil mixture.
STEP 8: Reapply Soil Mix [As Needed]
You might have to do more than 1 layer of the soil mix to completely level your yard.
You should apply the 2nd layer by repeating steps 5 and 6 after you see the grass begin to grow, or when you can't see the first soil mix layer anymore.
That's it. You're done! Now you know how to level a yard.
Things to Remember While Yard Leveling
For best results keep these tips in mind:
- The best time to level your yard is during the dry season. If done during a rainy season there is a good chance for soil erosion
- Proper backfill at the foundation is very important. If the soil is too close to the wall cladding then you risk termites getting into your house
- Any soil removed from the lawn can be reused while grading
Conclusions on Landscape Grading
Leveling your yard is very important to protect your home and landscape from long term damages and expensive costs to fix.
If your landscape grading issues are minor you can follow the 8 steps above on how to level a yard yourself.
However, if you have major issues with your lawn's slope, you should contact a professional. They'll know how to level a yard with more extensive issues. It may be that your landscape grading needs commercial-grade equipment, and a professional eye to identify all problems.
If you're in southeast Pennsylvania, Cider Mill Landscapes may be able to help you. Fill out the form below for a free consultation or call us at: (484) 574-4666.
How To Level Dirt In Garden
Source: https://www.cidermilllandscapes.com/how-to-level-a-yard/
Posted by: smithroadvine.blogspot.com
0 Response to "How To Level Dirt In Garden"
Post a Comment